Forge and Fight
Devlog - Character Customization Setup and Pipeline
Forge and Fight is a multiplayer title and this brings a new set of expectations compared to the games we’ve worked on before. Solid backend systems that allow scaling the game, fair balancing with multiple players in mind, and a wide variety of viable strategies, are some of the things people tend to expect.
Among these features, we have character customization which happens to be one of my personal favourites when playing with other people. Being able to create a cool, slick rogue with a complete, unified set or creating a dumb space clown with flip flops lends a sense of freedom and provides people with the opportunity to express themselves and shape the community as a whole. Lots of fun! While these end-user tools haven’t been implemented into the game as of yet they’re planned for the release and most of the backend work has been completed at this point.
Modifier Attributes and Cosmetics
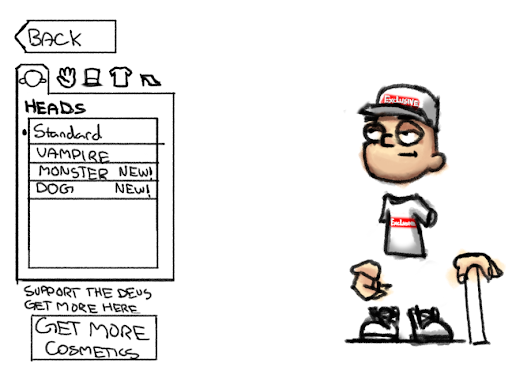
To make communication around character creation easier we’ve split aspects of customization into two parts: modifier attributes and cosmetics. The cosmetics are the actual base models or assets which the character consists of such as their head, torso, shoes, or voice line pack. The modifier attributes are the characteristics that modify attributes of cosmetics. This would include colour tints of the characters’ skin and clothing or the pitch of the character's voice for instance.
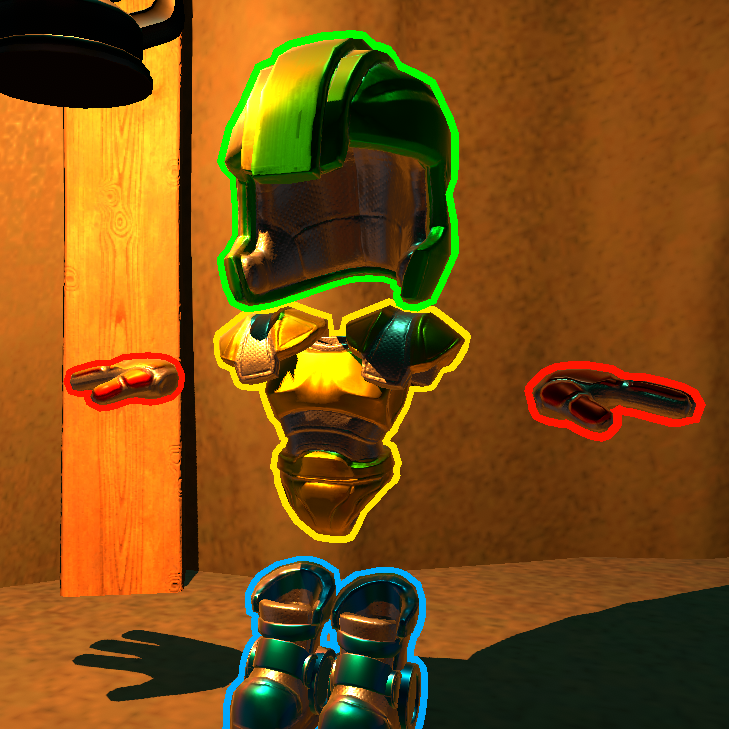
The five categories of cosmetics are feet, hands, torso, head, and hair. These need to fit together both proportionally and aesthetically to feel cohesive and satisfying to use. To aid in maintaining proportional consistency we’ve established some prerequisites and workflows to ensure things are easy to produce without a lot of trial and error.
Prerequisites
To make it easier on ourselves characters are all the same proportions and extremities of the character are separated from the torso. These decisions were primarily the result of wanting to keep the characters the same size for fair gameplay and providing an interesting look to the overall character design. The decision also brings the added benefit of letting me use a reference character to build things off of with clear examples of how other clothing looks for easy comparison without having to keep different character proportions in mind. The separated extremities mean there are no seams between cosmetics which leads to less worry about how articles of clothing clip through each other which brings down some of the skinning work as well.
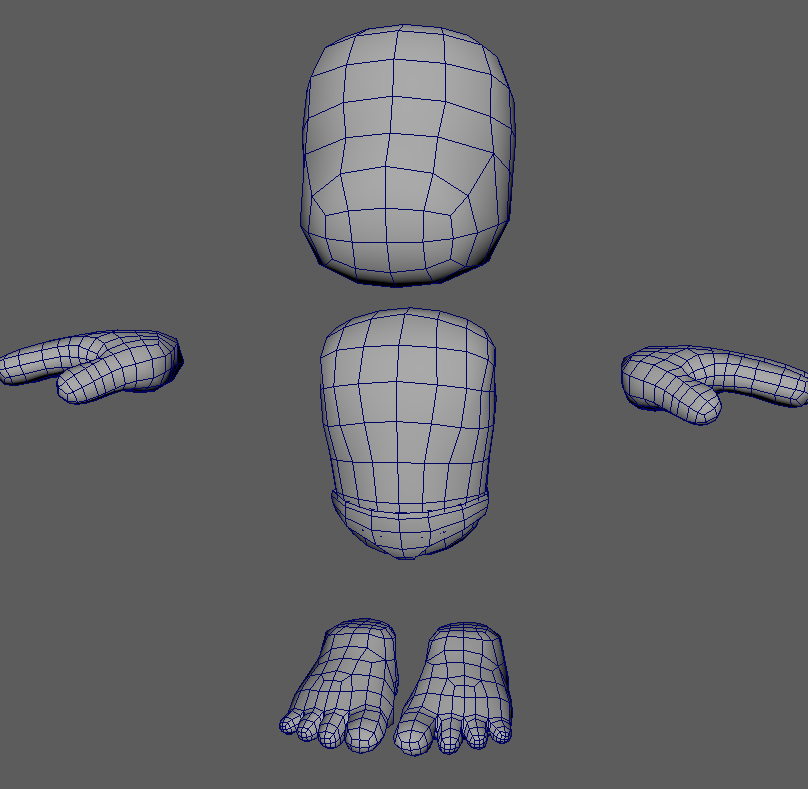
The reference poses not the same as bind pose.
Workflow
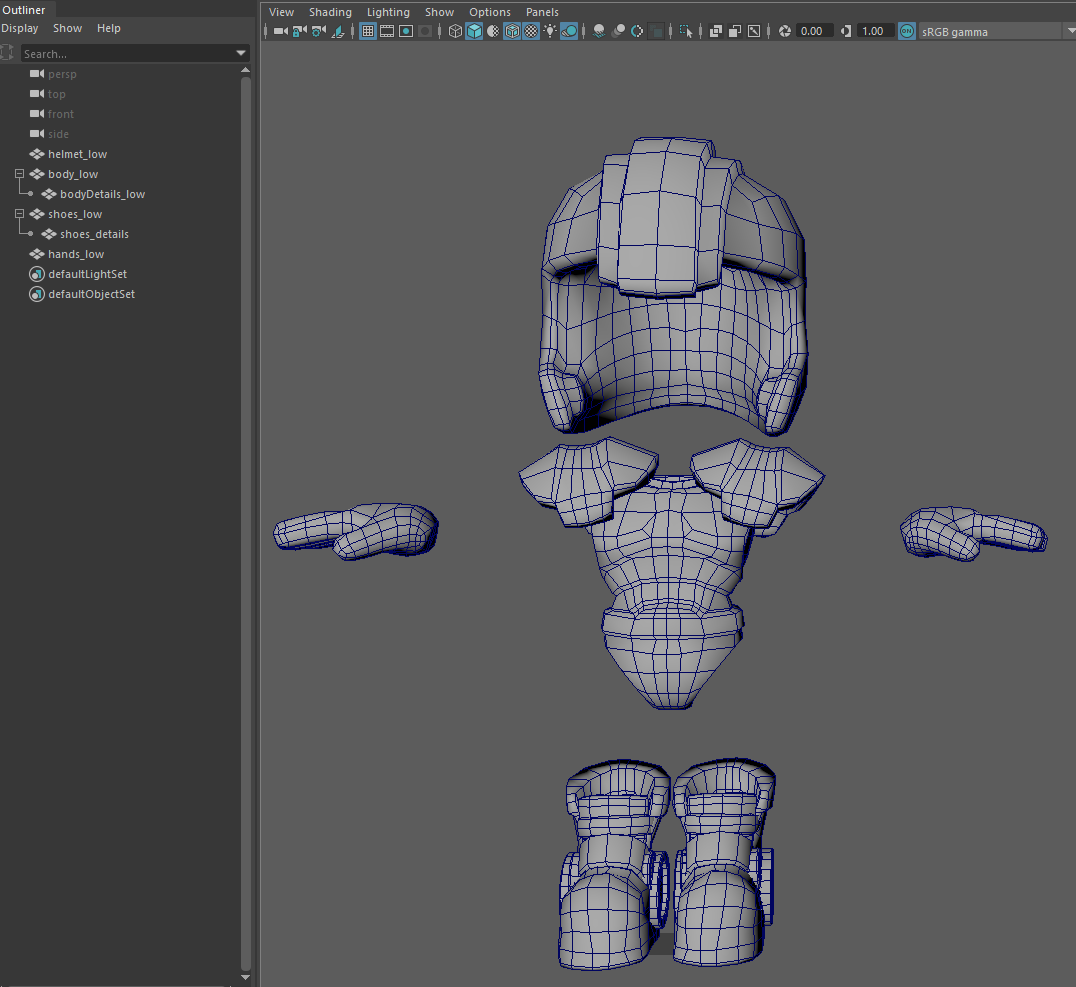
As for workflow, every article of clothing is created as part of a set. So, in essence, every pair of gloves have a matching hat, shirt, and pair of shoes associated with them as well. This line of thinking encourages the production of more assets and also speeds the production process up with multiple things being created with each production cycle. This reduces the number of working files during the production and thus minimizes workload and general confusion.
When a set of clothing has been sculpted, low poly versions are created in Maya and given their respective material names, their own UV layouts, and mesh names with a ‘_low’ suffix for baking. Since the clothing will be mixed and matched later on it makes more sense to treat them as their own assets in this regard.
There hasn’t been a need to implement it yet but there is an opportunity to optimize with this setup by creating texture atlases of character clothing during runtime to reduce the number of textures being called. A working version with all associated meshes is exported for texturing. This is again a step to reduce the number of working files and keeping things neat.
The working version has its textures baked from the high poly version and is then textured in Substance Painter (huge timesaver, well worth learning and reduces the need for lots of software). Not gonna go into specific methods of texturing here but there are lots of great learning videos made by allegorithmic walking through concepts and techniques.

One feature that is worth mentioning in this context, however, is the naming convention when exporting textures. By giving the working file an appropriate name after the set you’re working on and the materials after the article of clothing you get a very neat naming convention that is easy to search for in the engine later on. This becomes more important as the project scales up. Again, all measures to keep the workload down and reduce confusion in the long run.
To allow for the colouring of cosmetics in-engine a mask map is produced in Substance Painter during the texturing process as well. This is done by creating a user-defined channel and making a black and white mask from it. When creating the mask texture colour is applied in the colour channel with a multiply blend mode to give an idea of how the colours will behave in the shader. This is also included with a good naming convention by creating a custom export preset in substance based on the Unity 5 preset.
The working file is handed to Niklas (our animator) to be skinned for use in the game. Since all characters are the same proportion, the same skeleton is used. Each article of clothing is then exported as a separate skinned mesh to unity and applied to the character animations, and materials are swapped during runtime to assemble the final character. Depending on the game mode the assigned clothing colours will be the team colour or user-defined colours. Very cool!
After all this, we have a completed character that consists of multiple parts. While the feature is not strictly necessary for gameplay it provides a lot of flavours that are well worth it in order to build up the community.
That's all folks, for this week's Dev log!
Wishlist on Steam: Store.steampowered.com
Connect with us:
Twitter: Twitter.com
Facebook: Facebook.com
Discord: Discordapp.com
Leave a comment
Log in with itch.io to leave a comment.